 "How can I get more fonts for free?"
Well, if you have Adobe Illustrator and a little creative gumption, you can take one of your system fonts and convert it to paths and put a brush stroke outline on it and you've got yourself a whole new set of fonts!
I made the above image using Courier and a few simple Adobe Illustrator techniques.
Here's a way to make a regular font into a cool, edgy font in Illustrator. Keep in mind, this method only works on fonts that have been converted to outlines (paths), so in the true sense of the word "font" I suppose you're actually making letter artwork, not actual fonts. But when you're just making a headline or slogan for a T-shirt, this doesn't really matter.
1) Type the words you want in Illustrator
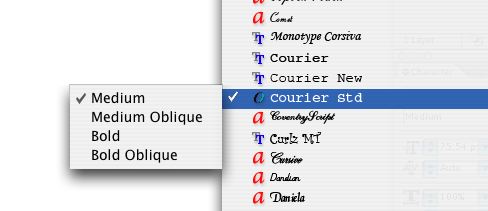
Open Illustrator and with the type tool, type a word (at about an 80 point size). For our example I'll use the system font that most any computer should have: Courier...
 2) Convert type to outlines
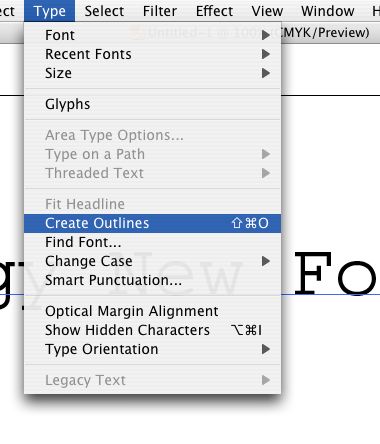
Keep your text highlighted and go to the "Type" drop down menu and select "Create Outlines."
 3) Put a 1 point black stroke on your converted type.
At this point your color fill is probably black and your outline color may be set to "none" (the box with the red line through it). It should look like this in your toolbar:
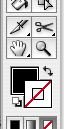
To change your outline color, click on the outline box in your toolbar to make sure it's on top of the background color box (it should look like the above picture), then go to your color window (if you can't find your color window, go to the drop down menu: "window" and make sure "color" is checked). It will look like this:

Click on the little black rectangle in the bottom right corner of the color window (or drag the
"K" slider to 100). Once this is done, your color boxes in your toolbar should look like this:

4) Open the Artistic_Chalk Charcoal Pencil Brush Library.
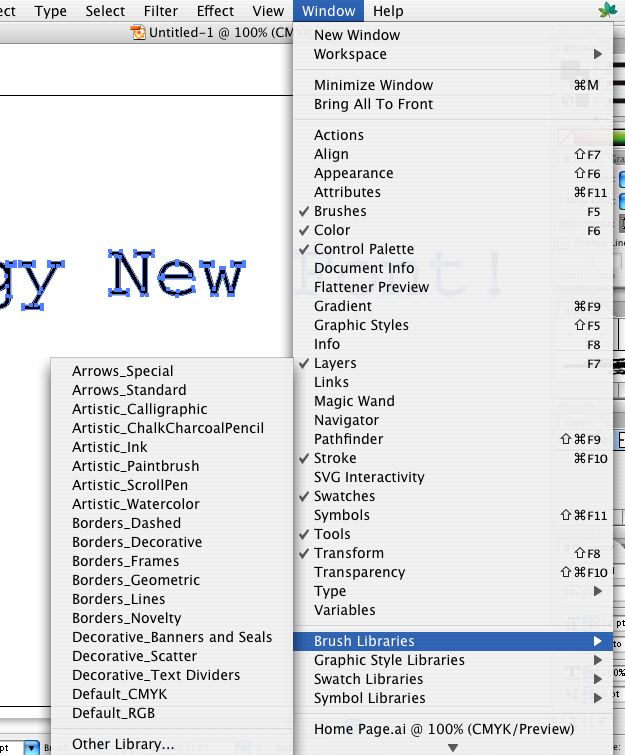
Keep your converted type selected. Go to the "Window" drop down menu, scroll down to "Brush Libraries" and select the "Artistic_Chalk Charcoal Pencil" brush window.

5) Select a brush stroke for your outline.
Keeping your converted type selected, select a brush from the menu. I chose one of the skinnier rough brushes and this is what it did to my converted type:

6) Adjust the stroke width.
At this point the letters usually looks too "fat." So now you'll need to do a bit of adjusting to the width of the stroke. To make it easier to see what you're doing with the converted type while it's selected, you can hide your selection outlines by going to the "View" drop down menu and selecting "Hide Edges."

In your stroke window (drop down window "Window" and "Stroke") adjust the weight of your outline. This will adjust the thickness or width of the brush stroke that's around your converted type. It usually defaults to 1pt (One Point), which is usually too thick. Just tweak the thickness. Try a 0.8...then try a 0.2 or a 0.05 pt. Keep tweaking until you like what you see. Different brush strokes will require different weights in order to look good. Here's what it looks like in the Stroke window (ignore the miter limit and other settings for this project):

Here's what I ended up with:
 7) Move letters around, play with it, tweak it and try out new colors!
Here, I simply selected each letter, one at a time and moved them so the words weren't on such a straight base line:
 Add a little color, a drop shadow, some background color and here's what I got:Not too bad for just plain old Courier & a little creative gumption!
Here are a few more brushes (from the brush library) and color combinations I tried with Courier...
 Now bring your cool new type into Photoshop (or Photoshop Elements) save it as a PNG, upload it to CafePress and you've got yourself a great looking slogan T-Shirt with custom lettering ready to sell!
Be sure to check out other useful Illustrator tips and tutorials on Creative Gumption.
Have you tried similar techniques to get more mileage out of your fonts? Was this tutorial helpful?
Technorati Tags: illustrator, tips, cafepress, t-shirt, font